

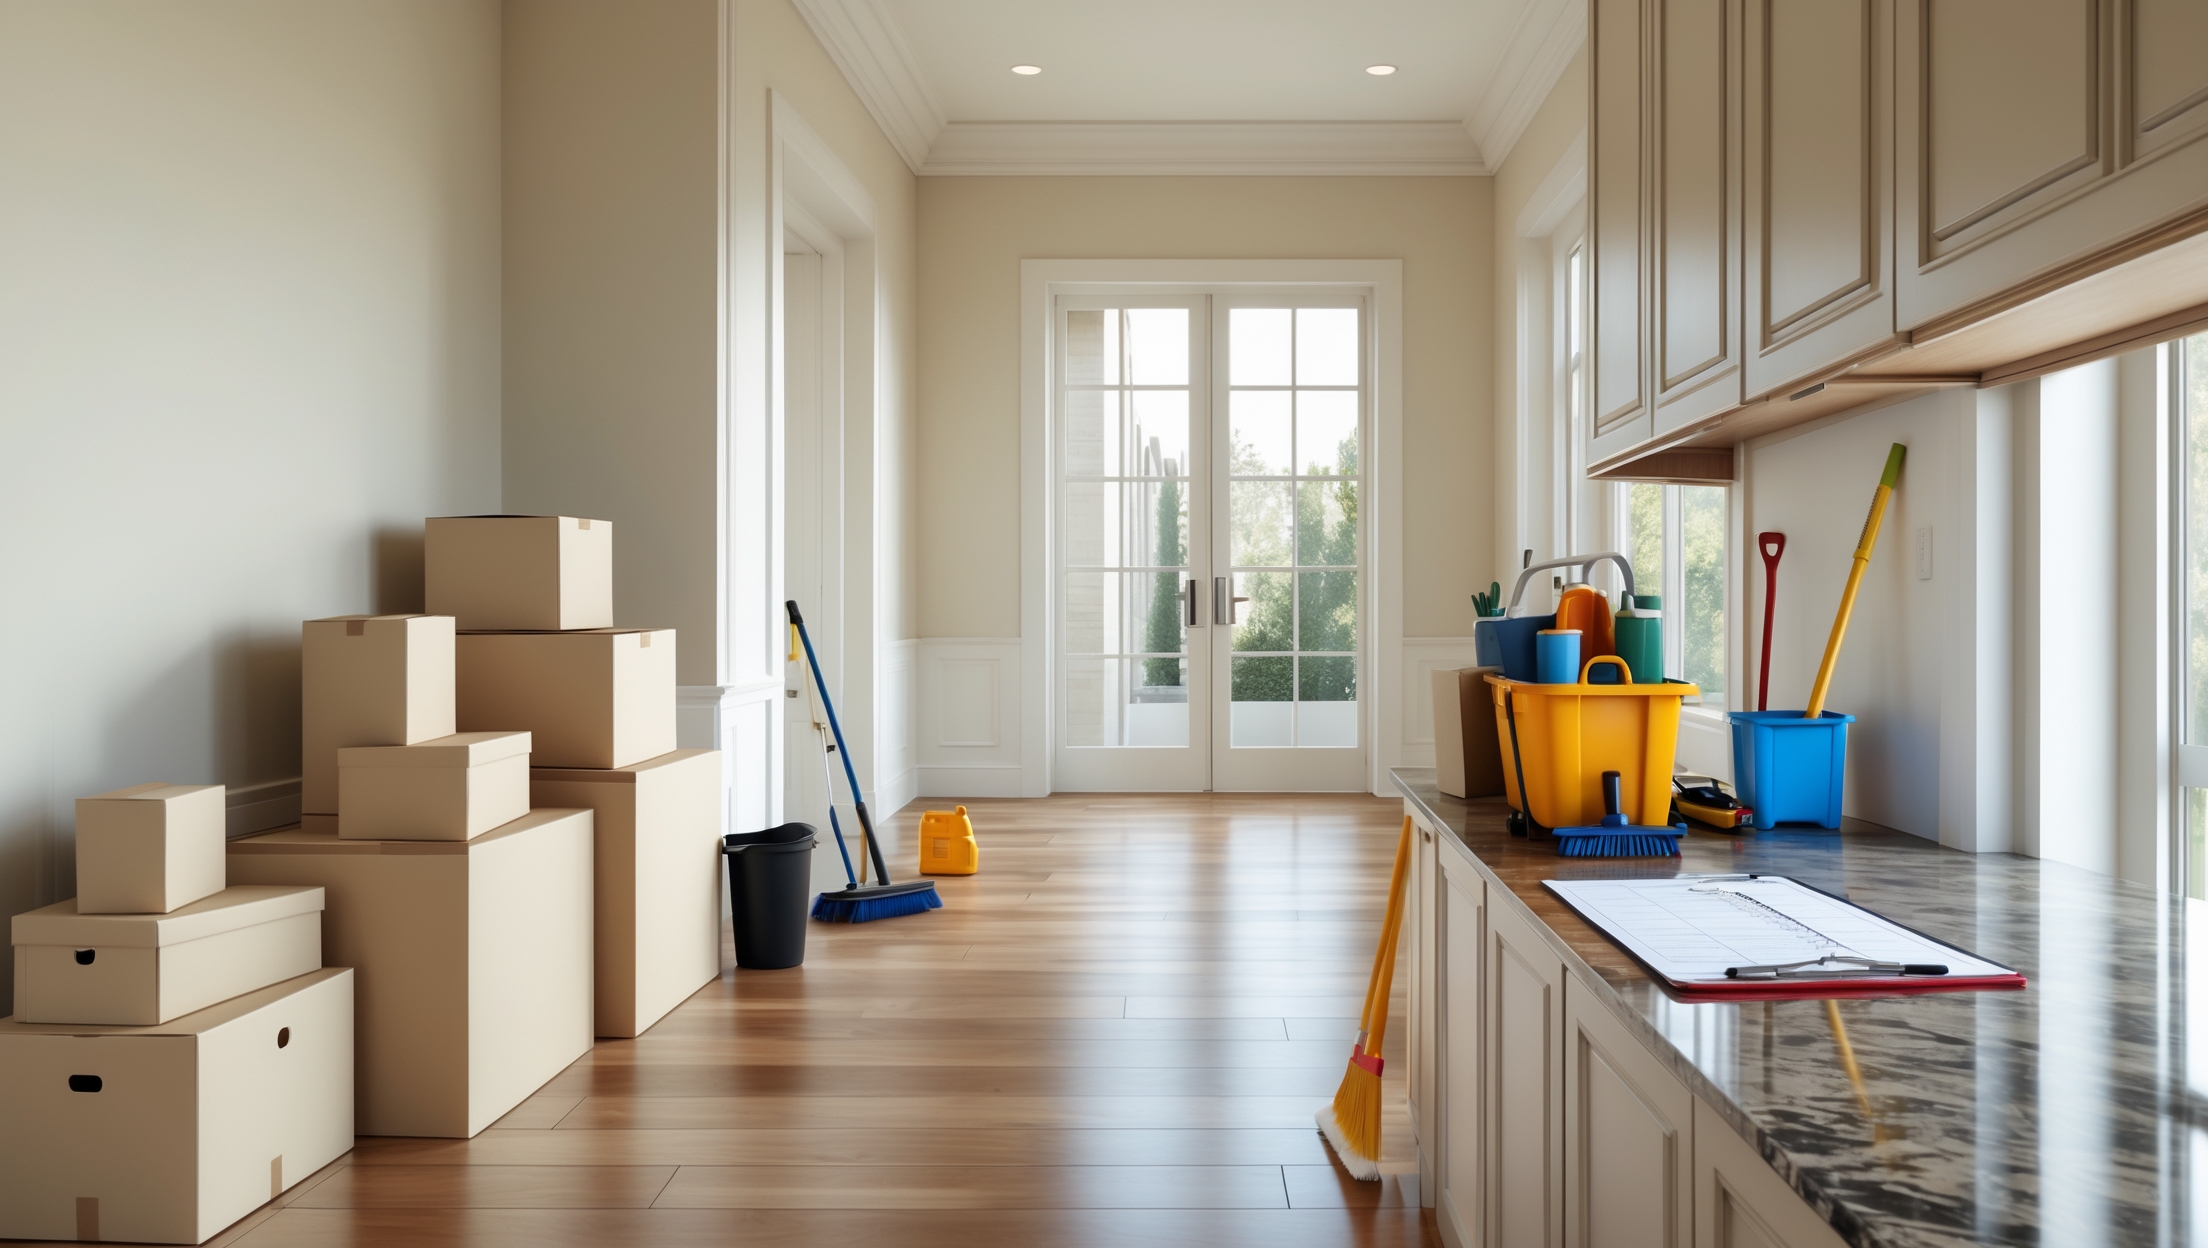
Introduction: Why Post-Move Maintenance Matters
Congratulations, you’ve made it through the big move! The boxes are in, the furniture is (mostly) in place, and your new chapter is just beginning. But before you settle in and start enjoying your new space, there’s a critical step many overlook: post-move maintenance. Even if your home appears spotless and move-in ready, a fresh move provides the perfect opportunity to conduct inspections, tackle preventive tasks, and set up systems that will save time, money, and stress down the road. Expert movers and property professionals know that a thorough post-move maintenance routine not only protects your investment but also ensures a safe, comfortable, and efficient home from day one. This guide will walk you through practical, step-by-step strategies for inspecting, upgrading, and maintaining your new home, with detailed checklists and expert insights. Whether you’re a first-time homeowner or a seasoned mover, you’ll find actionable advice to make your transition smoother and set yourself up for long-term success.
Inspect Before You Unpack: The Essential Walkthrough
1. Conduct a Room-by-Room Inspection
Start with a blank slate by walking through your entire home before unpacking. Carry a notepad or use your smartphone to record issues. Focus on:
- Walls and Ceilings: Check for cracks, water stains, or signs of mold.
- Floors: Look for damaged tiles, loose floorboards, or worn carpets.
- Windows and Doors: Test all locks, handles, and seals for security and drafts.
- Lights and Outlets: Flip every switch and test every outlet. Note any flickering, buzzing, or non-functional points.
- Smoke and Carbon Monoxide Detectors: Ensure all alarms are present and functional.
2. Inspect Plumbing and Water Systems
Plumbing issues can be costly if undetected. Run water in sinks, tubs, and showers to check for leaks or slow drainage. Examine under-sink pipes and around toilets for moisture or mold. Test all shut-off valves. If your water heater is accessible, inspect for corrosion or leaks.
3. Check HVAC and Air Quality
Turn on both heating and cooling systems. Listen for unusual noises and ensure air is flowing from all vents. Change HVAC filters immediately—previous owners or tenants may have neglected this task. If ductwork is visible, check for dust buildup.
Safety First: Setting Up Essential Systems
4. Update All Locks and Security Codes
For peace of mind, replace or rekey all exterior door locks, including garage and shed doors. If your home has a security system, reset access codes and familiarize yourself with its operation. Change the codes on garage door openers and any keyless entry systems.
5. Test and Upgrade Smoke/CO Detectors
Replace batteries in all smoke and carbon monoxide detectors. If devices appear outdated (over 10 years old), replace them with modern, interconnected units for maximum safety. Check for detectors in every bedroom, hallway, and each floor.
6. Locate and Label Shut-Offs
- Main Water Valve: Know its location and test that it works smoothly.
- Gas Shut-Off: If the home uses gas, locate the shut-off and review emergency procedures.
- Electrical Panel: Open the breaker box and label each circuit if not already done. Test breakers to confirm they control what’s labeled.
Preventive Maintenance: Protect Your Investment
7. Clean Gutters and Downspouts
Even if you’ve recently moved in, gutters may be clogged with debris. Clean them to prevent water damage, especially before the rainy season. Check downspouts for blockages and ensure water is directed away from the foundation.
8. Service Major Appliances
Appliances often get overlooked during moves. Inspect and clean your refrigerator coils, range hood filters, and dryer vents. Run a test cycle on dishwashers and washing machines. Review manufacturer’s manuals for recommended maintenance routines.
9. Assess Exterior: Roofing, Siding, and Foundation
- Roof: Look for missing shingles, signs of leaks, or sagging.
- Siding: Inspect for cracks, rot, or insect damage.
- Foundation: Walk the perimeter to check for visible cracks or pooling water.
If you spot any issues, schedule professional inspections before minor problems become costly repairs.
Efficiency Upgrades for Immediate Impact
10. Replace Air and Water Filters
Swap out furnace and HVAC filters, and replace refrigerator water filters if applicable. This ensures cleaner air and water from day one.
11. Install LED Lighting
Replace incandescent bulbs with energy-efficient LEDs throughout the house. You’ll reduce your energy bills and minimize the hassle of frequent bulb changes.
12. Check and Upgrade Insulation
Inspect attic access points for visible insulation. Consider scheduling a professional energy audit to assess for drafts or insufficient insulation, particularly in older homes.
Setting Up for Comfort and Convenience
13. Deep Clean Before Unpacking
With empty rooms, it’s the perfect time for a thorough cleaning. Focus on:
- Baseboards and trim
- Cabinet interiors
- Light fixtures and ceiling fans
- Window tracks and sills
For carpets, consider steam cleaning or professional services before placing heavy furniture.
14. Create a Maintenance Calendar
Set reminders for seasonal tasks like HVAC servicing, gutter cleaning, and lawn care. Use a wall calendar or digital app. Establishing a routine now helps you stay ahead of issues and preserves your home’s value.
15. Emergency Preparedness
- Fire Extinguishers: Place in the kitchen, garage, and near exits.
- First Aid Kits: Store in accessible locations on each floor.
- Escape Plan: Create and practice a family evacuation plan. Mark exits and meeting points.
Personalizing Your Space: Quick Wins
16. Paint and Touch-Ups
Minor paintwork is easier before rooms fill up. Patch nail holes, touch up scuffs, or repaint to match your style. Use painter’s tape for clean edges and ventilate well during the process.
17. Reprogram Smart Home Devices
If your home has smart locks, thermostats, or lighting, reset all devices and update Wi-Fi credentials. Review settings for security and privacy. Consult manufacturer documentation or support if needed.
Post-Move Maintenance Checklist
- Room-by-room inspection complete
- Plumbing and HVAC systems tested
- Locks replaced or rekeyed
- Smoke/CO detectors tested and upgraded
- All shut-offs located and labeled
- Gutters and downspouts cleared
- Major appliances serviced
- Exterior checked for damage
- Air and water filters replaced
- LED bulbs installed
- Insulation assessed
- Deep clean performed
- Maintenance calendar created
- Emergency supplies set up
- Paint and touch-ups completed
- Smart devices reprogrammed
When to Call the Pros: Expert Advice
Some maintenance tasks require a professional touch. Contact licensed experts for:
- Roof repairs or inspection
- Electrical panel upgrades
- Major plumbing leaks or water heater issues
- HVAC servicing beyond filter changes
- Mold remediation
Don’t delay addressing safety or structural concerns—early intervention prevents costly damage.
Conclusion: The Key to a Safe, Lasting Home
Moving doesn’t end when the last box is unpacked. Investing time in post-move maintenance is one of the smartest moves you can make as a homeowner or renter. By methodically inspecting your new space, setting up safety systems, tackling preventive care, and establishing regular maintenance habits, you not only protect your investment but also create a more comfortable, functional, and stress-free environment for your household. These expert-backed strategies help you catch problems early and avoid unpleasant surprises, letting you focus on making memories in your new home. Remember, the habits you establish now will pay dividends in the years to come—so take the time to settle in the right way. With your maintenance checklist in hand, you can step confidently into this exciting new chapter, knowing your home is safe, efficient, and ready for whatever comes next.
When testing all the lights and outlets like you mentioned, what’s the best way to document electrical issues for follow-up—should I make a spreadsheet, take photos, or is there another method you’ve found useful?
Using both a spreadsheet and photos works really well. List each room and outlet or fixture in a spreadsheet, note any issues, and add a brief description. Take photos of specific problems and label them to match your spreadsheet entries. This makes it easy to track issues and share clear information with an electrician if needed.
When inspecting under-sink pipes and around toilets for moisture or mold, what are some signs that indicate a minor issue versus something that would need professional attention right away?
A minor issue might look like a small water stain, light condensation, or a faint musty smell. These can often be handled with cleaning and monitoring. However, if you see active dripping, pooling water, visible mold growth, or a strong, persistent odor, it’s best to call a professional immediately to prevent further damage.
I noticed you recommend checking plumbing for leaks during post-move maintenance. Are there affordable tools or DIY techniques you suggest for catching hidden leaks before they become more serious and expensive problems?
Absolutely, you can use inexpensive tools like a water meter to check for unexpected usage, or place paper towels under pipes and check them after a few hours for moisture. Food coloring in toilet tanks can also reveal slow leaks. Listening for drips or looking for water stains around sinks and appliances is another simple DIY technique.
What should I do if I find problems like water damage or flickering outlets during my initial walkthrough? Is it best to fix these right away, or prioritize certain issues and address others later?
If you spot issues like water damage or flickering outlets during your walkthrough, prioritize urgent problems first. Water damage and electrical issues should be addressed immediately, as they can worsen quickly or pose safety risks. Less critical problems can wait, but always document everything for future reference and possible warranty claims.
As a small business owner, I don’t always have time to do a full room-by-room inspection after moving. Are there specific areas or systems in a new home you’d recommend prioritizing if I’m limited on time?
If time is tight, focus on inspecting the essentials first: check that your electrical panel, smoke and carbon monoxide detectors, plumbing for leaks, and heating or cooling systems are all working properly. Also, ensure you know where the main water shutoff and circuit breakers are located for emergencies.
If I find issues with the doors or windows not sealing properly during my walkthrough, should I try fixing them myself first or call a professional?
If the sealing issue with your doors or windows is minor, like a loose weatherstrip or a small draft, you can try fixing it yourself using basic tools and materials. However, if the problem involves alignment, damage, or you’re unsure of the cause, it’s safer to call a professional to ensure your home stays energy efficient and secure.
When doing the initial walkthrough you mention testing every outlet and switch. If I find a few outlets that don’t work, is it better to try fixing them myself or should I call an electrician right away?
If you find outlets that aren’t working, first check if they’re controlled by a switch or if a circuit breaker has tripped. If those basic checks don’t solve it, it’s safest to call an electrician. Electrical issues can pose safety risks if you’re not experienced with repairs.
If I notice drafts around the windows and doors during the initial walkthrough, what are some quick, budget-friendly fixes I can try before considering bigger upgrades?
You can use weatherstripping tape or draft stoppers around windows and doors to block drafts quickly and affordably. Caulking any visible gaps or cracks is also effective. These solutions are easy to apply and can make a noticeable difference before investing in more extensive upgrades.
Could you explain more about what to look for with smoke and carbon monoxide detectors during the walkthrough? Are there any indicators besides just making sure they make noise when tested?
Besides testing that smoke and carbon monoxide detectors make noise, check the manufacture and expiration dates, usually found on the back. Look for dust or discoloration, which may affect performance. Ensure they’re securely mounted, not blocked by furniture, and are present on every floor, especially near sleeping areas. Replace batteries if unsure of their age.