

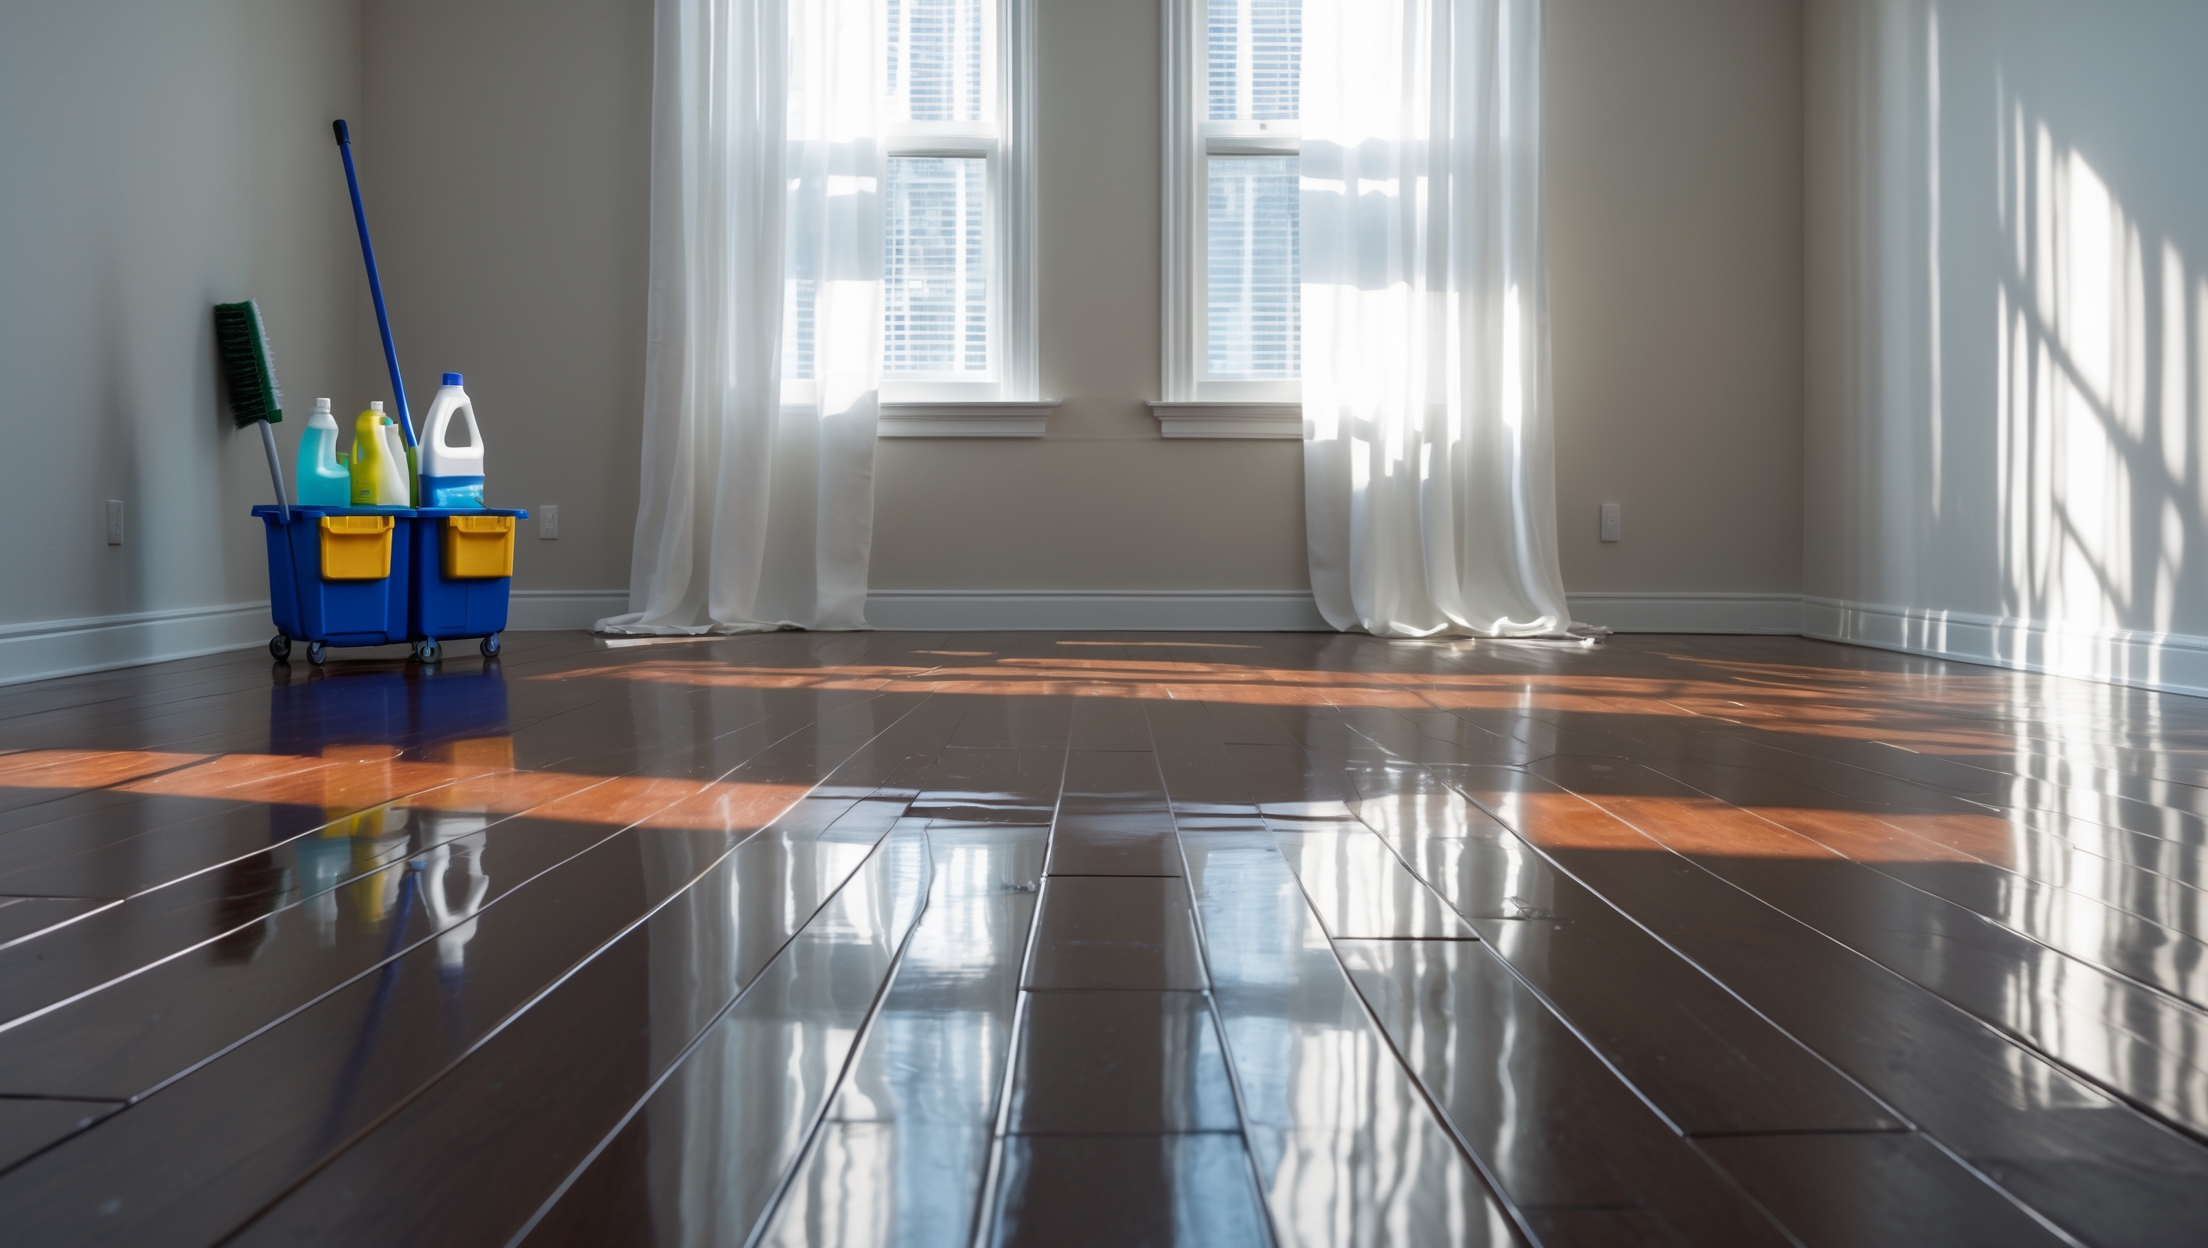
Introduction: Why Pre-Move Cleaning Matters
Moving out of a home or apartment is an exciting milestone, but it can quickly become stressful if you overlook one critical step: thorough cleaning before you leave. Whether you’re a tenant eager to reclaim your full security deposit or a homeowner aiming to impress buyers or the next occupants, move-out cleaning is not just a courtesy—it’s often a requirement. Landlords and property managers typically expect a property to be left in pristine condition, and many sales contracts include clauses about the state in which the property must be delivered. A neglected cleaning can lead to costly deductions, negative references, or even legal disputes. On the other hand, a spotless exit ensures a smooth transition, maintains your reputation, and leaves a lasting positive impression. This expert guide dives deep into proven move-out cleaning strategies, step-by-step checklists, essential tools, and insider tips to make sure you leave nothing but sparkling surfaces and satisfied stakeholders behind.
Understanding Move-Out Cleaning Expectations
Lease Agreements and Legal Obligations
Before grabbing your mop, review your lease or sales agreement. Many contracts outline specific cleaning requirements or standards, such as “broom clean,” “professionally cleaned carpets,” or “all appliances wiped inside and out.” Ignoring these can jeopardize your deposit or delay closing.
- Check for any required professional cleaning receipts, especially for carpets or pest control.
- Document the property’s condition before and after cleaning with date-stamped photos or videos.
- Communicate with your landlord or buyer about their expectations to avoid last-minute surprises.
Common Areas Often Overlooked
Even diligent cleaners can miss certain spots. Pay close attention to:
- Baseboards and trim
- Inside cabinets, drawers, and closets
- Behind appliances and toilets
- Ceiling fans and light fixtures
- Windowsills and tracks
- Garage, balcony, and outdoor spaces
Essential Tools and Supplies for Deep Cleaning
The Professional’s Cleaning Caddy
Having the right tools on hand makes a world of difference. Experts recommend assembling the following before you start:
- Microfiber cloths (for dusting and polishing)
- Scrubbing sponges and brushes (various sizes)
- Extendable duster (for ceiling fans and high corners)
- Bucket and mop (or steam mop for hard floors)
- Vacuum with attachments (for floors, upholstery, and corners)
- All-purpose cleaner, glass cleaner, disinfectant spray
- Baking soda and white vinegar (for natural cleaning solutions)
- Garbage bags and gloves
- Putty knife (for sticky residue or paint drips)
- Toothbrush (for grout and tight spots)
Specialized Equipment for Challenging Jobs
Consider renting or borrowing the following if needed:
- Carpet cleaner (for deep shampooing or stain removal)
- Steam cleaner (for tile, grout, and tough stains)
- Pressure washer (for patios, driveways, or exterior walls)
Step-by-Step Cleaning Checklist by Room
Kitchen
- Refrigerator and Freezer: Empty, unplug, and defrost. Wipe all shelves, drawers, and seals. Clean exterior and vacuum coils if accessible.
- Oven and Stove: Remove racks and clean with oven cleaner or baking soda paste. Scrub stovetop, knobs, and drip pans. Don’t forget the hood and filters.
- Cabinets and Counters: Empty, wipe down inside and out, and remove liner residue. Sanitize all surfaces, including backsplash.
- Sink and Faucet: Scrub basin, faucet, and handles. Use vinegar or descaler for stains or mineral buildup.
- Dishwasher: Clean filter and run an empty hot cycle with a cup of vinegar.
- Floors: Sweep, then mop, paying special attention to corners and under appliances.
Bathroom
- Toilet: Scrub bowl, seat, base, and behind. Disinfect handle and fixtures.
- Shower and Tub: Remove soap scum and mildew from tiles and grout. Clean glass doors with vinegar and buff dry.
- Sink and Vanity: Clean basin, countertop, faucet, and mirrors. Empty and wipe inside drawers and cabinets.
- Exhaust Fan: Remove cover and clean dust buildup.
- Floors: Sweep and mop, focusing on edges and behind the toilet.
Living Room and Bedrooms
- Floors: Vacuum carpets (consider shampooing if stained), sweep and mop hard floors.
- Walls: Spot clean marks with a damp cloth or magic eraser. Patch small holes with spackle and touch up paint if needed.
- Windows: Clean glass, sills, and tracks. Remove cobwebs from corners.
- Closets: Empty, dust shelves, wipe rods, and vacuum floors.
- Doors and Handles: Wipe down both sides and disinfect handles.
Utility Spaces
- Laundry Room: Wipe down washer, dryer, and utility sink. Clean lint trap and vacuum around appliances.
- Garage/Basement: Sweep floors, remove cobwebs, and dispose of any chemicals or hazardous waste properly.
Outdoor Areas
- Patios and Decks: Sweep and hose down surfaces. Remove leaves and debris.
- Entryway: Clean doors, knock down cobwebs, and sweep steps.
- Yard: Mow lawn, trim edges, and clear away trash or forgotten items.
Expert Tips for Efficient Cleaning
Work Top to Bottom
Start with high surfaces—ceiling fans, shelves, and light fixtures—so dust falls onto areas you’ll clean later. Finish with floors for maximum efficiency.
Declutter First
Empty rooms and cabinets before you start cleaning. This exposes hidden grime and speeds up the process. Donate, discard, or pack items you no longer need.
Use Natural Cleaners for Tough Jobs
Baking soda and vinegar are highly effective for stains, odors, and buildup, especially on sinks, tubs, and inside appliances. Let solutions sit for 10–15 minutes before scrubbing.
Don’t Forget the Details
- Replace burned-out light bulbs and test smoke alarms.
- Remove all nails, hooks, and adhesive from walls, patching any holes left behind.
- Check for pet hair in vents, corners, and under appliances.
Time-Saving Hacks
- Use a vacuum with a HEPA filter to quickly tackle dust and allergens.
- Steam clean microwaves and ovens by heating a bowl of water and lemon juice for five minutes, then wiping away loosened residue.
- Wrap a damp microfiber cloth around a broom to clean high corners and vents.
When to Hire Professional Cleaners
Some situations call for expert help:
- Large Properties: If your home is over 2,500 square feet or has multiple bathrooms, the time investment may outweigh the cost savings of DIY.
- Special Requirements: Some leases or buyers require professional carpet cleaning, mold remediation, or pest treatments with receipts.
- Tight Timelines: If you’re juggling work, packing, and moving logistics, hiring pros ensures your cleaning meets standards without added stress.
Choose reputable companies with move-out experience. Get estimates in writing and confirm which services are included. Always schedule in advance, especially during peak moving seasons.
Documenting Your Clean: The Final Walkthrough
Self-Inspection Checklist
- Walk through each room with your checklist and a camera or smartphone.
- Photograph every cleaned area, including appliances, floors, and outdoor spaces.
- Note any remaining issues and address them before handing over keys.
Communicating with Your Landlord or Buyer
Notify the responsible party once cleaning is complete. Offer to meet for a joint walkthrough, providing your checklist and photo documentation as proof of the property’s condition. This proactive approach can prevent disputes and expedite your deposit return or closing process.
Preparing for the Next Occupant
Leaving a home spotless is more than meeting requirements—it’s a gesture of goodwill. Consider leaving behind a small welcome note or helpful information like appliance manuals, garbage collection schedules, or local service contacts. These extra touches make transitions smoother and foster positive relationships.
Conclusion: The Lasting Benefits of a Spotless Exit
Investing time and effort into a thorough pre-move cleaning pays dividends well beyond the moving day. A spotless exit not only helps you meet legal and contractual obligations but also secures your deposit, avoids costly disputes, and leaves a legacy of respect for the next occupant. By following expert strategies—including detailed checklists, efficient cleaning techniques, and proactive documentation—you set yourself up for a stress-free transition and peace of mind. Remember, the impression you leave behind reflects your integrity and can open doors to positive references or future opportunities. So, as you close one chapter and move forward, let the memory of a sparkling, cared-for space be part of your moving story. Your future self—and the people who follow in your footsteps—will thank you.
How should I document the property condition if my landlord isn’t available for a walk-through right when I finish cleaning? Would photos be enough to protect my deposit?
If your landlord can’t do a walk-through right away, detailed photos and videos are a good way to document the property’s condition. Make sure to capture every room, any pre-existing damage, and close-ups of cleaned areas. It also helps to write a brief summary of the property’s state and email everything to your landlord with a date stamp. This thorough documentation can help protect your deposit.
If my lease just says to make the apartment ‘broom clean,’ do I still need to do things like clean inside cabinets or behind appliances, or does that only apply if it specifically says so?
If your lease only requires the apartment to be ‘broom clean,’ that usually means sweeping floors, removing all your belongings, and leaving the space generally tidy. Deep cleaning inside cabinets or behind appliances is typically not required unless your lease specifically mentions it.
You mentioned that some leases require things like professionally cleaned carpets. Does that usually mean I have to hire a service, or can I rent a machine and do it myself?
Whether you need to hire a professional service or can clean the carpets yourself depends on your lease agreement. Some leases specifically require a receipt from a professional carpet cleaning company, while others just expect the carpets to be thoroughly cleaned, allowing you to rent a machine. Double-check your lease or ask your landlord to be sure.
How far in advance of my move-out date should I schedule any required professional services, like carpet cleaning or pest control, to avoid last-minute issues?
It’s best to schedule professional services like carpet cleaning or pest control at least two weeks before your move-out date. This gives you enough time to address any follow-up treatments if needed and ensures you can secure your preferred time slot without last-minute stress.
You mention that some leases require professional carpet cleaning with a receipt. Is it usually acceptable to rent a carpet cleaner and provide that receipt, or do landlords typically require a licensed cleaning service?
Whether renting a carpet cleaner is acceptable depends on your lease agreement. Many landlords specifically require a receipt from a licensed professional cleaning service, not just proof of renting equipment. It’s best to check your lease or ask your landlord directly to ensure you meet their requirements.
Do you recommend hiring a professional cleaner for carpets even if they look fine to me, or is renting a carpet cleaner and doing it myself usually enough to satisfy most landlords?
Most landlords expect carpets to be deeply cleaned, not just surface cleaned. If your carpets only have minor dirt and no stains, renting a carpet cleaner yourself is usually enough. However, for a flawless finish or if your rental agreement specifically mentions professional cleaning, hiring a pro could offer extra peace of mind.
I noticed you mentioned documenting the property’s condition with date-stamped photos or videos. Do you have any tips for making sure these photos hold up as evidence if there’s a dispute with the landlord?
To strengthen your photos as evidence, make sure each photo clearly shows the date and time, either with a built-in camera setting or by including a newspaper or device screen showing the date in the shot. Take wide shots and close-ups of all key areas, and back up your files to a secure location. Also, keep a written record explaining what each photo shows for extra clarity.
You mention documenting the property with date-stamped photos before and after cleaning. Is there a specific way landlords expect these photos to be submitted, or is just having them on your phone good enough in case there are disputes?
Most landlords don’t have a set requirement for submitting cleaning photos unless it’s specified in your lease. Usually, just keeping clear, date-stamped photos on your phone or backed up elsewhere is fine for your records. If a dispute arises, you can share them as needed. If you’re unsure, you can ask your landlord if they prefer photos sent by email or another method.
What’s the best way to thoroughly clean behind appliances like the fridge and stove before moving out? I always struggle to move them and worry about damaging the floor.
To safely clean behind the fridge and stove, unplug them first and gently pull them out using a towel or furniture sliders under the feet to protect your floors. Sweep and mop behind the appliances, and wipe down the back panels and walls. If they’re very heavy, ask for help or use a broom with an extended handle to reach behind as much as possible.
What are some affordable or DIY alternatives for cleaning inside appliances and windowsills if you’re moving on a tight budget and can’t hire professionals?
For cleaning appliances, a mix of baking soda and vinegar works well on grime and odors—just sprinkle baking soda, spray vinegar, let it fizz, scrub, and wipe clean. For windowsills, use a toothbrush dipped in soapy water to scrub away dirt, then wipe with a damp cloth. An old sock also makes a handy dusting tool for tight corners.
What’s the most efficient way to tackle hard-to-reach areas like behind appliances or inside window tracks, especially if you’re short on time before moving day?
Focus on the most visible spots behind appliances, using a long duster or vacuum attachment to quickly remove dust and crumbs. For window tracks, wrap a damp cloth around a flat tool like a butter knife to wipe out dirt fast. Prioritize areas that are likely to be checked, and work from top to bottom to avoid re-cleaning.
You mention documenting the property’s condition with photos or videos. Is there a recommended way or a specific app you suggest for this so it’s acceptable for landlords or property managers?
Using your smartphone’s built-in camera is usually sufficient as long as the photos or videos are clear and show the property’s condition in detail. Many people use apps like Google Photos or Apple Photos to organize and back up their images. Be sure to date-stamp the files and keep them securely stored, as landlords and property managers generally accept clear digital documentation.
If I’ve already cleaned but the landlord points out an overlooked area like inside cabinets, do I have a right to return and re-clean, or can they just deduct from my deposit?
If your lease or local laws allow, you usually have the right to return and address specific cleaning issues before any deductions are made from your deposit. It’s best to communicate with your landlord promptly, clarify expectations, and document your follow-up cleaning to avoid unnecessary charges.
You mention leases sometimes require professionally cleaned carpets or pest control receipts. If a landlord doesn’t specify a company, am I allowed to use any certified service or do they need to pre-approve the vendor?
If your lease doesn’t specify a particular cleaning or pest control company, you can usually choose any certified or licensed provider. However, it’s wise to keep all receipts and double-check with your landlord or property manager if you’re unsure, as some may want to approve the vendor in advance.
Could you clarify what exactly qualifies as ‘broom clean’ as mentioned in lease agreements? Is it enough to sweep all floors, or does it also include wiping surfaces and cleaning appliances?
In most lease agreements, ‘broom clean’ means sweeping or vacuuming all floors to remove dirt and debris, taking out all trash, and leaving the space generally tidy. It doesn’t usually require deep cleaning, wiping every surface, or cleaning appliances unless your lease specifically mentions those tasks.
Do landlords usually require a receipt from a professional carpet cleaner, or can I just rent a machine and do it myself to satisfy lease requirements?
Landlords often have different requirements, so it’s best to check your lease agreement. Some leases specifically ask for a professional cleaning and a receipt, while others accept DIY cleaning if you leave the carpets in good condition. If in doubt, ask your landlord directly to clarify their preference.
You mention documenting the property’s condition with date-stamped photos. Are there common mistakes people make when taking these photos, and do landlords ever dispute them?
Some common mistakes include not capturing all areas thoroughly, missing close-ups of existing damage, or having poor lighting that hides details. Make sure photos are clear, labeled, and show both wide shots and close-ups. Landlords sometimes do dispute photos, so having a comprehensive, well-organized set with clear timestamps helps protect you in case of disagreements.