
Introduction: Why Floor and Wall Protection Matters During a Move
Moving day is infamous for creating chaos in even the most organized households. Amidst the flurry of boxes, furniture, and helpers, it’s all too easy to overlook the impact your move can have on the very surfaces of your home. Floors and walls—whether in your old or new place—can suffer scratches, scuffs, dents, and stains that not only mar appearances but can also lead to expensive repairs or lost security deposits. Expert movers know that protecting these surfaces is not an afterthought, but a vital step in the moving process. In this comprehensive guide, you’ll learn proven, pro-level strategies for safeguarding hardwood, carpet, tile, and laminate floors, as well as painted, wallpapered, and drywall surfaces. From choosing the right protective materials to step-by-step application techniques, we’ll equip you with the knowledge to keep your spaces pristine, avoid unnecessary costs, and make your move as damage-free as possible.
Understanding the Risks: How Moves Damage Floors and Walls
Common Causes of Damage
- Dragging Heavy Furniture: Couches, dressers, and beds can gouge floors or scrape paint off walls.
- Packing and Unpacking: Cardboard boxes with rough edges, or those overfilled, can scuff wall surfaces as they’re carried through tight spaces.
- Equipment Mishandling: Dollies, carts, and hand trucks can leave dents or wheel marks if used incorrectly or without padding.
- Weather Hazards: Rain, snow, and mud tracked inside can stain carpets and warp hardwood.
- Doorway and Corner Collisions: Bulky items can hit corners and door frames, causing chips and cracks.
Financial and Practical Consequences
- Security Deposit Loss: Renters risk forfeiting hundreds or thousands for damaged floors or walls.
- Repair Costs: Even minor fixes—like patching drywall or refinishing floors—can add up quickly.
- Delayed Move-In: Damage may require immediate repair before you can fully settle in, causing costly delays.
Essential Protective Materials: What the Pros Use
For Floors
- Ram Board/Floor Protection Board: Durable, flexible, and water-resistant; ideal for hardwood, tile, and laminate.
- Rosin Paper: Good for quick, lightweight protection of hardwoods, but not water-resistant.
- Plastic Carpet Film: Rolls out over carpet, clings securely, and resists tears from foot traffic.
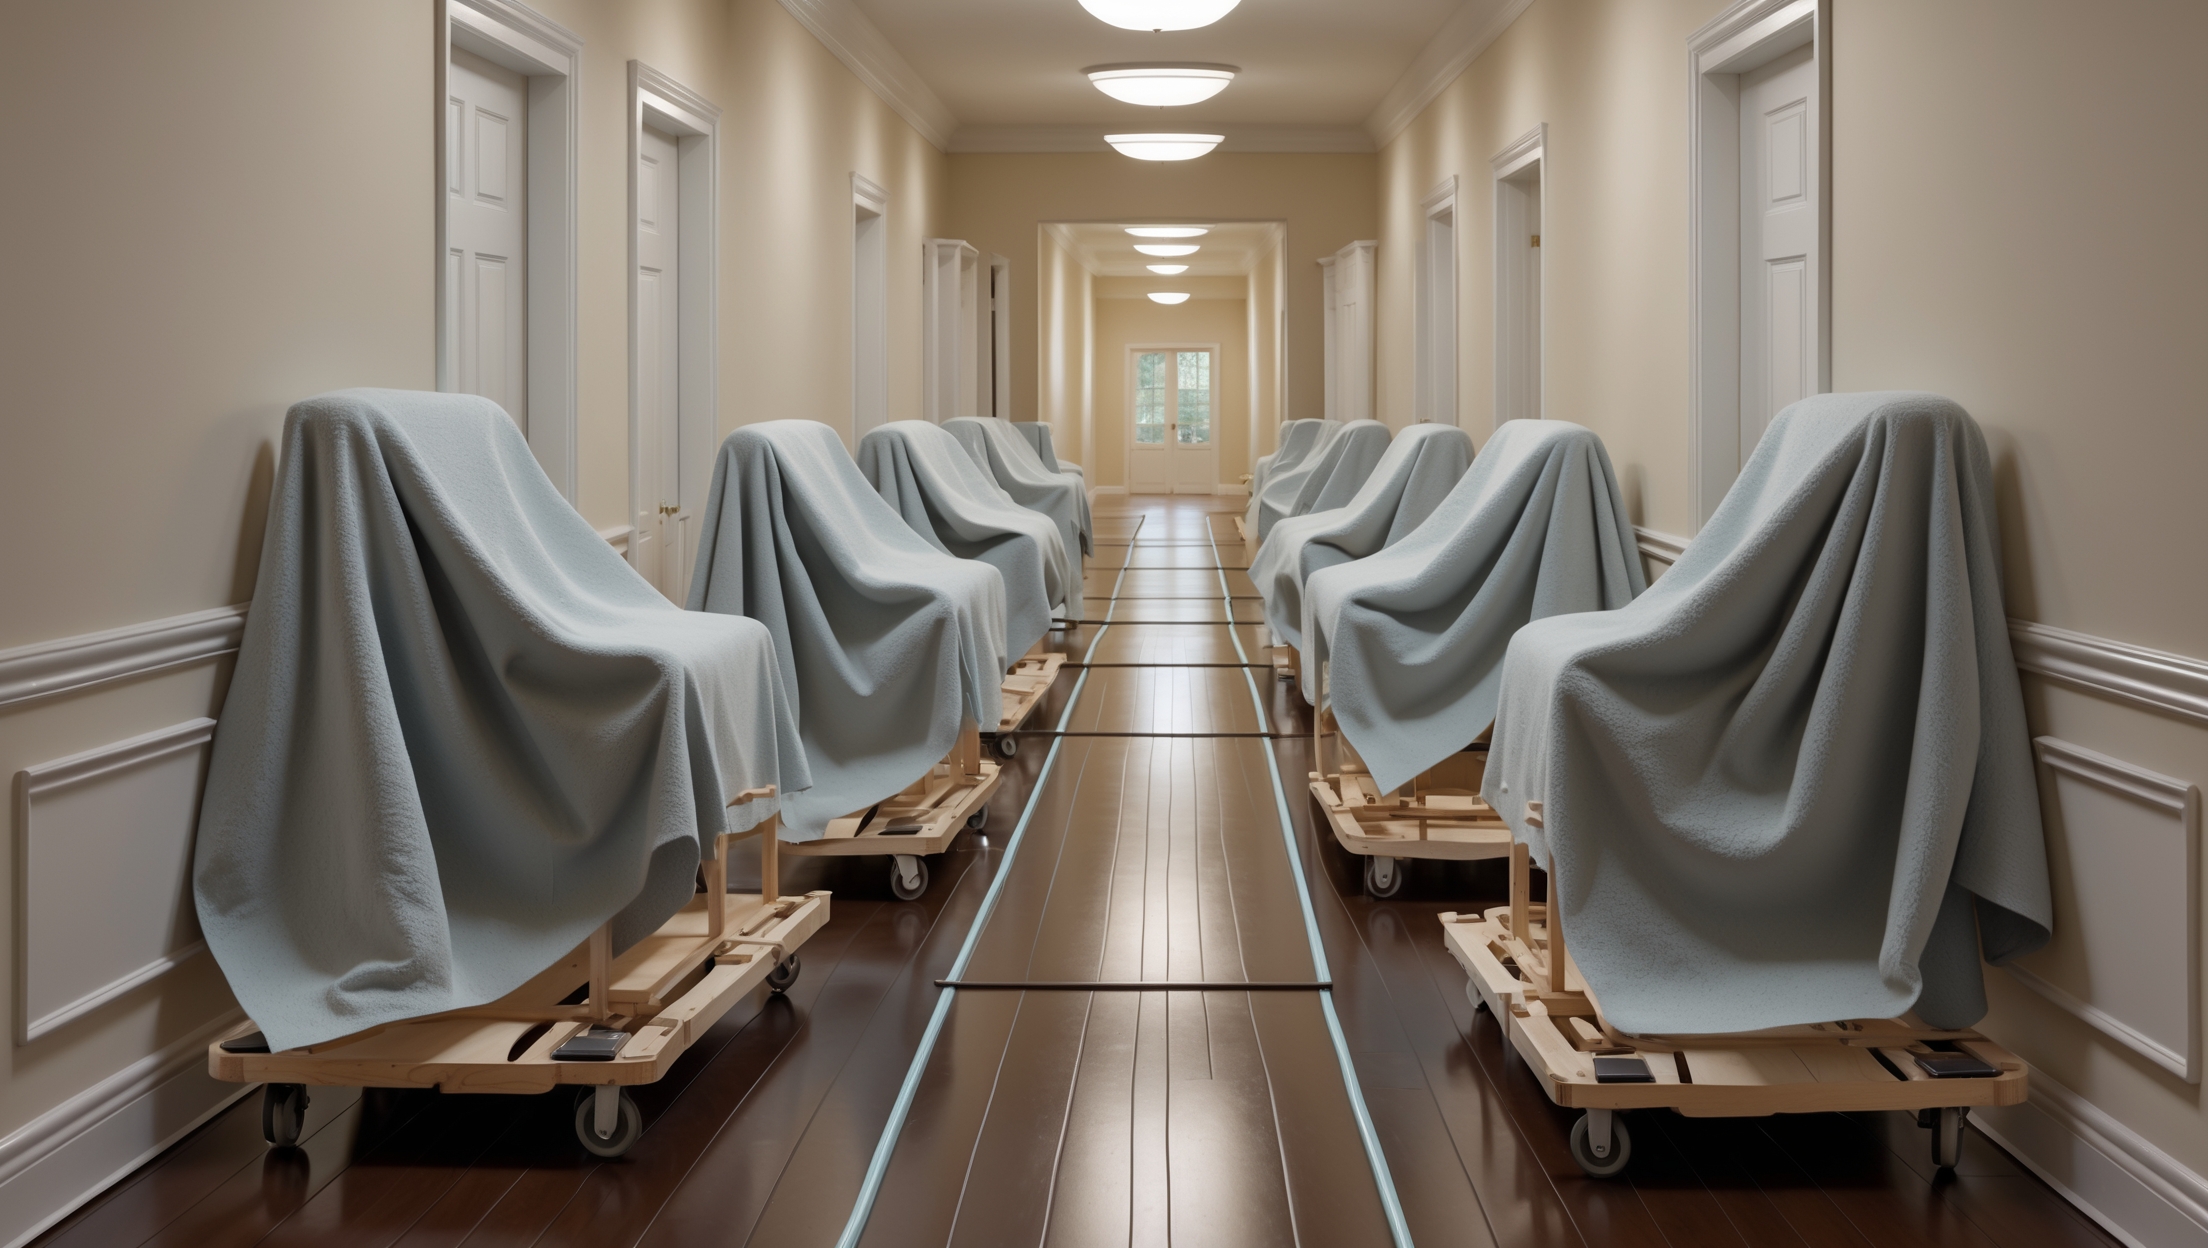
- Moving Blankets: Thick and cushioned, perfect for high-impact zones and under heavy furniture.
- Non-Slip Runners: Provide safe pathways for movers, especially in hallways and entryways.
- Tape (Painter’s or Surface-Safe): Secures coverings without leaving residue or damaging finishes.
For Walls and Corners
- Corner Guards: Plastic or foam guards that snap onto corners to prevent chips and dents.
- Foam Padding: Adheres to walls or door frames to cushion accidental bumps.
- Bubble Wrap Sheets: Temporary solution for particularly vulnerable areas or artwork.
- Door Frame Protectors: Wrap around frames to shield from scrapes and impacts.
Room-by-Room Protection Strategies
Entryways and Hallways
These high-traffic areas see the most wear during a move. Lay down non-slip runners or commercial-grade floor protection boards from the door to main living spaces. Attach corner guards and foam wall padding along tight turns, and double up protection near stairs.
Living Rooms and Bedrooms
Cover hardwood or laminate floors with rosin paper or ram board, taping seams securely. For carpets, use plastic film, ensuring edges are sealed to prevent tripping. Move large furniture slowly, using moving blankets as a buffer between items and the floor or walls.
Kitchens and Bathrooms
Tile and vinyl are vulnerable to cracks from dropped items. Use extra-thick floor protection, and avoid stacking boxes on counters or against walls. Protect lower cabinets and corners with foam or cardboard sheets.
Stairways
Stairs are notorious for nicks and carpet stains. Apply stair-specific carpet film or grip runners, and use foam padding along the railing and wall edges. Assign one person to guide large items up or down to avoid missteps.
Step-by-Step Floor Protection Guide
- Clear and Clean: Remove loose debris and mop or vacuum surfaces. Protection is most effective on clean floors.
- Measure and Cut: Pre-cut protection boards, paper, or films to fit each room and hallway. Overlap edges for complete coverage.
- Secure Edges: Use painter’s tape or floor-safe tape to hold materials in place. Avoid duct tape—it can leave residue.
- Add Extra Layers: In high-impact zones (entrances, stairs), double up with moving blankets or additional board layers.
- Inspect and Adjust: Check throughout the move to ensure coverings stay in place and replace torn or shifted sections.
Step-by-Step Wall and Corner Protection Guide
- Identify Vulnerable Areas: Focus on corners, narrow hallways, stairway walls, and door frames.
- Install Corner Guards: Snap or tape plastic/foam guards to each exposed corner.
- Apply Foam Padding: Attach foam strips or bubble wrap to walls where large furniture will pass.
- Protect Door Frames: Use commercially available frame protectors, or wrap with moving blankets secured by tape.
- Monitor During Move: Assign someone to watch for shifting protection and to reposition as needed.
Pro Tips for Damage-Free Moving
- Lift, Don’t Drag: Always lift furniture and boxes; dragging causes most floor scratches.
- Use Furniture Sliders: Place these under heavy items for easy, scuff-free movement.
- Protect in Both Directions: Equip both your old and new homes with floor and wall protection.
- Weather Prep: Place doormats or towels by entryways to catch moisture and dirt.
- Move in Good Light: Ensure all areas are well-lit so movers see obstacles and protected areas.
- Keep Pathways Clear: Don’t let boxes or debris pile up—clutter leads to accidents and damage.
- Communicate with Movers: Walk through your protection plan with anyone helping, so everyone understands what’s off-limits and how to navigate safely.
When to Call in the Pros: Professional Protection Services
Sometimes, the stakes are high—think high-gloss hardwood, historic moldings, or luxury finishes. Many moving companies offer professional protection services, including:
- Custom-fit floor and stair covers
- Specialized wall and door frame guards
- On-site supervision to monitor and adjust protection during the move
If you’re unsure about how to protect delicate or valuable surfaces, or if you’re moving in or out of a property with strict move-in/move-out policies, investing in professional help can save you money and stress in the long run.
Common Mistakes and How to Avoid Them
- Using the Wrong Tape: Avoid duct tape or standard masking tape, which can strip finishes or leave residue. Stick to painter’s tape or tapes labeled as surface-safe.
- Skipping Corners and Door Frames: These are damage magnets. Always use corner guards and door frame protectors.
- Forgetting the Weather: Rain, snow, and mud can undo your best efforts. Always provide doormats and extra floor protection on wet days.
- Not Checking Protection Mid-Move: Floor and wall coverings can shift as people walk or move items. Assign someone to inspect and fix coverings throughout the day.
- Underestimating Box Weight: Overfilled or heavy boxes can punch through flimsy floor coverings. Use double layers under heavy loads.
Cleanup and Inspection After the Move
Once the last box is inside, resist the urge to collapse on the couch. Instead, carefully remove all protective materials, taking care not to drag tape or coverings across surfaces. Inspect every area for any signs of damage—scuffs, dents, or stains—while everything is still fresh. If you spot a problem, address it immediately: small wall dings are easier to patch right away, and fresh stains are more likely to come out. Document the condition with photos, especially if you’re a renter or selling your home, as this can help with security deposit disputes or buyer negotiations.
Conclusion: A Small Investment for Major Peace of Mind
Protecting your floors and walls during a move might seem like an extra step in an already busy process, but experienced movers know it’s one of the smartest investments you can make. Not only does it shield you from costly repairs and deposit losses, but it also relieves stress: you won’t have to worry about unsightly scratches or surprise dents when you’re finally ready to settle into your new space. With the right materials, a room-by-room plan, and careful attention to detail, you can move with confidence, knowing your home—both old and new—will look just as good post-move as it did before. Whether you’re handling the move yourself or working with professionals, prioritize protection, and you’ll save time, money, and headaches. Sometimes the best moving tip isn’t how to pack a box, but how to leave behind a space that’s truly move-in ready—for you or the next occupants.
When protecting hardwood floors during a move, are there affordable materials you recommend that won’t leave adhesive residue or cause damage themselves?
For hardwood floors, try using rosin paper, old blankets, or cardboard sheets. These materials are affordable, easy to find, and won’t leave adhesive residue behind. Avoid using plastic sheeting with tape directly on the wood. Secure coverings with painter’s tape along the baseboards, not on the floor itself, to prevent damage.
For someone on a tight budget, what are some affordable alternatives to professional floor coverings that still effectively prevent scratches and stains during a move?
If you’re watching your budget, you can use old blankets, towels, or sheets to cover floors and high-traffic areas. Flattened cardboard boxes also work well for protecting both floors and walls. Just secure them with painter’s tape to keep everything in place and prevent tripping.
When you mention using protective materials for different floor types like hardwood versus laminate, are there any products that work well for both, or should I invest in separate supplies for each surface?
You can use certain protective materials like thick moving blankets, cardboard sheets, or rosin paper for both hardwood and laminate floors. These options are generally safe for both surfaces as long as they’re clean and laid flat. Avoid plastic sheeting directly on either floor type, as it can trap moisture. Separate supplies aren’t necessary unless you have specialized needs or particularly delicate flooring.
If it starts raining during my move, what’s the best quick fix for protecting hardwood floors from muddy shoes, especially if I didn’t get special floor covers ahead of time?
If rain catches you off guard during your move, use items you likely have on hand. Flatten large cardboard boxes to create temporary walkways, or lay down old towels, sheets, or blankets at entry points. These will absorb moisture and dirt from shoes and provide quick protection for your hardwood floors until you can clean up.
If you end up with a few scuffs or small dents on walls during the move, what are the most cost-effective repair steps to take before turning over a rental to avoid losing your security deposit?
For small wall scuffs, try gently cleaning them with a damp sponge or a magic eraser. For minor dents or holes, use lightweight spackle or wall filler; let it dry, then sand it smooth and touch up with matching paint. These simple fixes are affordable and can help ensure you don’t lose your security deposit.
For renters trying to keep repair costs low, are there any budget-friendly strategies from your guide that work well for both hardwood floors and painted walls?
Yes, several budget-friendly tips can protect both hardwood floors and painted walls. Using old bedsheets or inexpensive drop cloths shields surfaces from scratches and scuffs. Felt pads under furniture and cardboard barriers at corners provide extra protection. Painter’s tape is also useful for guarding wall edges without damaging paint.
Do you have recommendations for protective materials that work best on both hardwood and carpet? I’m trying to avoid buying a bunch of different products if I can help it.
A great all-around option is using heavy-duty plastic sheeting or floor protection film, as these can be taped down and work well on both hardwood and carpet. Another versatile choice is thick moving blankets, which provide cushioning and prevent scratches or dents for both surfaces. Just make sure the materials are clean before laying them down.
The article mentions using different protective materials for hardwood, carpet, tile, and laminate floors. Could you give specific examples of the best products or materials suited for each floor type during a move?
For hardwood floors, use rosin paper, felt pads, or hardboard sheets. For carpets, adhesive carpet film or thick drop cloths work well. Tile floors benefit from corrugated plastic sheets or masonite boards. For laminate, try foam rolls, cardboard, or plastic film. Each offers durability and protection tailored to the specific flooring type during a move.
I’m most worried about tracking in rain and mud on moving day like you mentioned. Is there a specific way to protect hardwood floors from water damage during bad weather moves?
To protect hardwood floors from water damage during rainy or muddy moves, lay down waterproof tarps or heavy-duty plastic sheets in entryways and high-traffic paths. You can also use absorbent mats or runners to catch moisture and dirt. Make sure to secure coverings with painter’s tape to prevent slipping and check regularly for pooling water.
If I’m hiring movers, how can I make sure they actually use the protection methods you described for floors and walls during the move?
To ensure movers use floor and wall protection, discuss your expectations before the move and ask specifically about their protective measures. You can request details on what materials they’ll use and confirm this is included in your service agreement. On moving day, supervise the setup and remind them to use coverings and corner guards as needed.
If damage happens despite using floor and wall protection, what are the fastest repairs I can make to avoid delaying a client’s move-in day?
If there’s minor damage, such as scuffs or small holes, use quick-drying spackle for walls and touch-up paint as soon as it sets. For floors, apply wood filler to scratches, or use a stain marker for quick fixes on hardwood. For tiles, adhesive or grout pens work well. These methods dry quickly and keep the move-in on schedule.
How much should I budget for basic floor and wall protection materials for a two-bedroom apartment move? Are any DIY options safe or is it better to buy the professional stuff?
For a two-bedroom apartment, basic protection materials like plastic sheeting, cardboard, painter’s tape, and moving blankets typically cost $40 to $100 if you shop at hardware stores. DIY options like using old sheets or flattened boxes are effective for light moves and are quite safe. For heavy furniture or tricky spaces, investing in professional-grade pads or corner guards may offer better protection.