

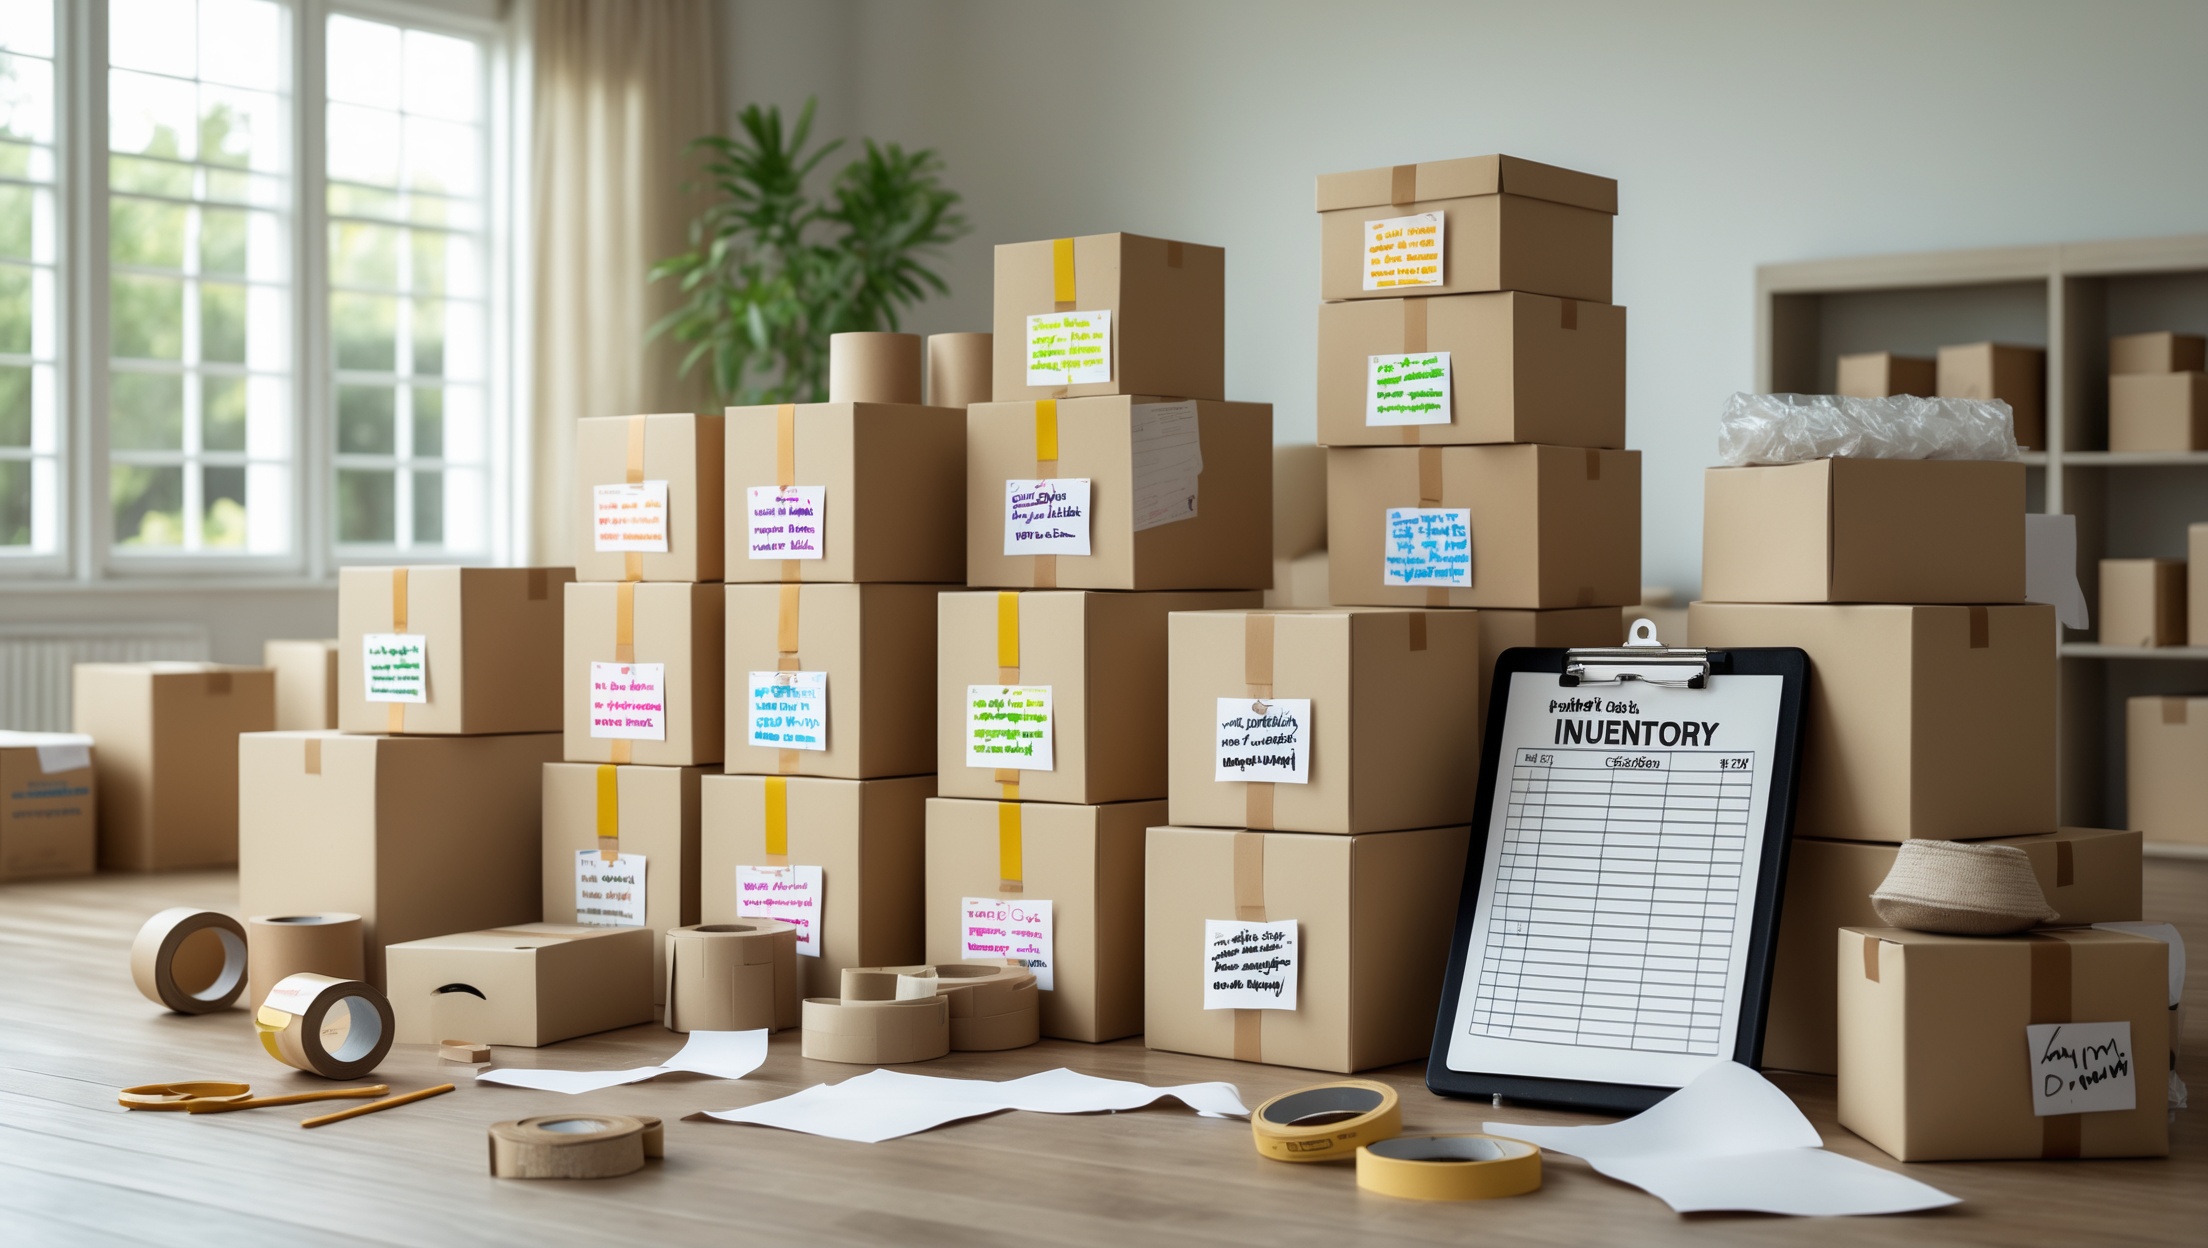
Introduction: Why Expert Labeling Makes All the Difference
Moving to a new home or office is always a significant undertaking, and one of the most overlooked—yet essential—parts of a successful relocation is how you label your boxes and belongings. You might think a quick scribble with a marker is enough, but ask any moving professional and they’ll tell you: strategic labeling is the secret weapon that can transform a chaotic move into an organized, efficient process. From preventing lost items to making unpacking five times faster, expert labeling techniques save time, money, and stress. In this guide, you’ll learn the advanced methods used by professional movers to label, track, and organize everything during a move. Whether you’re relocating a studio apartment or a large family home, these actionable strategies will ensure you always know what’s in every box, where it belongs, and how to get settled quickly in your new space. Ready to make your next move the smoothest one yet? Read on to master the art of moving box labeling.
Understanding the Role of Labeling in a Smooth Move
Labeling is much more than writing “kitchen” or “books” on a box. It’s a robust system that helps you:
- Efficiently direct boxes to the correct rooms on moving day
- Quickly access essentials and high-priority items
- Prevent misplacement or loss of belongings
- Maintain a clear inventory for insurance or compliance purposes
- Simplify unpacking, so you can settle in faster
Skipping or underestimating this step is one of the most common mistakes beginners make, leading to confusion, misplaced items, and extra work after the move.
Essential Supplies for Professional Labeling
You don’t need expensive gadgets to label like an expert, but using the right supplies can make a world of difference. Gather these items before you start packing:
- Permanent Markers: Choose bold, waterproof markers in black and several bright colors.
- Color-Coded Stickers or Tape: Assign each room a color for immediate visual identification.
- Pre-Printed Labels: For those who prefer tidy, uniform labels.
- Numbered Stickers: For inventory tracking and cross-referencing with lists.
- Clipboard and Inventory Sheets: To keep a moving log as you pack.
- Smartphone or Tablet: For digital inventory apps and quick photo records.
Step-by-Step: Building an Expert Labeling System
Step 1: Plan Your Labeling Scheme Before You Pack
Before you touch a single box, decide on your labeling system. Will you use a combination of numbers, colors, and written descriptions? Assign a color and a number range to each room (e.g., blue for kitchen, boxes 1-10; green for master bedroom, boxes 11-20). Make a key and keep it handy.
Step 2: Inventory as You Go
As you pack, make a brief list of contents for each box. Write a summary on the box itself, but keep a master inventory sheet (on paper or digitally) with detailed contents and the corresponding box number and color. This is invaluable for locating specific items and for insurance documentation.
Step 3: Use Multiple Labeling Methods
- Color Code: Affix a colored sticker or tape to at least two sides of the box. Each color represents a specific room or zone.
- Number Boxes: Write a unique number on every box. This links each box to your inventory sheet.
- Write Clear Descriptions: On the top and at least one side, write the main category (e.g., “Kitchen: Pots & Pans”), the destination room, and any handling instructions (“Fragile,” “Open First”).
Step 4: Prioritize with “Open First” and “Fragile” Tags
Use red stickers or bold writing for boxes containing essentials you’ll need immediately (think toiletries, coffee maker, device chargers). Clearly mark fragile boxes on every visible side, and indicate the correct upright orientation if needed.
Step 5: Photograph Every Box
Take a quick photo of each box after labeling, showing its contents and labels. This digital backup helps with lost boxes, insurance claims, and unpacking.
Advanced Labeling Tactics from Moving Pros
Utilize QR Codes for High-Value or Complex Loads
For high-value items or large moves, consider generating QR codes for each box that link to a digital inventory. Apps like Sortly or Moving Van make this easy, letting you scan a box and instantly see its contents on your phone.
Map Out Your New Space in Advance
If possible, get a floor plan of your new home. Assign each room a number and color, then label boxes accordingly. On moving day, hang matching colored signs on each room. Movers and helpers will instantly know where to place each box—no need for constant direction.
Group by Unpacking Priority
Add a priority rating (1, 2, or 3) to each box. Priority 1 includes essentials for the first day or night. Priority 3 can wait a week or more. This keeps you from opening every box just to find a pillow or a frying pan.
Label for Special Handling
Add clear instructions for any boxes that need special care or upright positioning. Use arrows to indicate orientation. For electronics, note “Do Not Stack.” For liquids, note “Keep Upright.” These direct movers and protect your belongings.
Labeling for Specific Scenarios
Long-Term Storage
If some belongings are going into storage, use a distinct color or pattern for those boxes, and add a “Storage” tag. List the storage unit location on your inventory. Include a moisture-absorber packet in each box if storing for more than a month.
Partial Moves or Staged Unpacking
For moves where you’ll unpack in stages, group and clearly label boxes by phase: “Immediate Unpack,” “After 1 Week,” “Seasonal.” This prevents clutter and focuses your efforts.
Shared or Multi-Unit Moves
If sharing a moving truck or having multiple households in one move, assign each person a unique color or initial, and use this on every box. Keep inventories separate and double-check for mixed loads at both departure and arrival.
Common Labeling Mistakes—and How to Avoid Them
- Illegible Handwriting: Always print clearly, using block letters and bold markers.
- Labeling Only One Side: Moving stacks can hide labels. Mark at least two sides and the top.
- Too Little Detail: “Bedroom” isn’t helpful when you’re looking for sheets vs. books. Be specific.
- Skipping Inventory: Relying on memory is a recipe for lost items. Always keep a master list.
- Failing to Update: If you repack a box, update the label and inventory to match.
Labeling Tools and Tech: A Quick Guide
- Label Makers: For clean, consistent labels—especially for fragile, high-value, or long-term storage boxes.
- Inventory Apps: Use apps like Sortly, MoveAdvisor, or simple spreadsheet tools for tracking.
- QR Code Generators: Free online tools let you link a code to a Google Doc or inventory list.
- Printable Templates: Download or create templates for color-coded or room-specific labels.
Unpacking: How Expert Labeling Accelerates the Process
When boxes arrive at your new home, expert labeling pays off instantly. Movers can place each box in the correct room in minutes. As you unpack, your inventory sheets make it simple to locate essentials and verify that everything made it to the new address. Open “Priority 1” and “Open First” boxes first. Check off each box against your inventory, and use your photos to confirm contents. If anything is missing, you’ll have a clear record for follow-up or claims. Within hours, you’ll have basic kitchen, bathroom, and bedroom setups—no frantic searching required.
Labeling for Business and Office Moves
For office relocations, a robust labeling system is even more critical. Use department codes, employee initials, or floor numbers along with colors and numbers. Document IT equipment with serial numbers and packing locations. For confidential files, use coded labels and track custody throughout the move. This reduces downtime, prevents data loss, and ensures compliance with privacy regulations.
Maintaining Your Labeling System for Future Moves
If you expect to move again or store items for later, consider creating reusable labels or investing in plastic bins with insertable label slots. Keep digital inventories updated, and store them in the cloud for easy access next time. This saves packing time and protects your belongings move after move.
Conclusion: Make Every Move Easier with Expert Labeling
Labeling might seem like a minor detail in the grand scheme of moving, but the difference between a well-labeled move and a haphazard one is night and day. By applying the expert strategies outlined in this guide—planning your system in advance, using color codes and numbers, maintaining clear inventory lists, and leveraging technology—you’ll gain control over your belongings before a single box leaves your old address. This doesn’t just reduce stress on moving day; it also ensures you can unpack quickly, find anything you need within minutes, and avoid the frustration of lost or damaged items. After settling in, you’ll appreciate the foresight and organization every time you open a box and discover exactly what you expected. Remember, a smooth move is built on small, smart decisions. Mastering the art of labeling is one of the most powerful tools in your moving toolkit—and it’s never too late to start doing it right. Happy moving!
How do you recommend labeling items that belong in shared spaces, like hallways or bathrooms, especially when roommates have their own things in those areas?
For shared spaces like hallways or bathrooms, label each box with both the room name and the owner’s name, such as ‘Bathroom – Alex’ or ‘Hallway – Sam.’ This helps everyone quickly identify which items belong to whom during unpacking and prevents mix-ups among roommates.
What do you recommend for labeling boxes that will be going into storage for a while versus those you’ll need right away? Should the labeling strategy be different in that case?
For boxes going into storage, use detailed labels that list contents and the storage location, then mark them as ‘Storage’ or with a color code. For items you’ll need right away, label those as ‘Open First’ with a bold marker and list essential contents. This will make it much easier to find what you need quickly.
You mention permanent markers and waterproof supplies, but sometimes boxes go into storage for months. Are there any labeling methods or materials that hold up better in humid or long-term storage conditions?
For long-term or humid storage, consider using weatherproof or laminated labels, which resist moisture and fading better than paper labels. Industrial-strength adhesive labels also work well on cardboard. Writing with oil-based paint markers instead of standard permanent markers can further prevent smudging and fading over time.
Could you explain how you keep a clear inventory for insurance purposes using labeling? Do you recommend numbering boxes or just sticking with names and colors?
For insurance purposes, numbering each box and keeping a detailed inventory list is the most effective method. Assign a unique number to each box, then record the contents and value of items in a corresponding list. You can still use colors or names for quick identification, but numbers make it easier to track and document everything for insurance claims.
When assigning colors to different rooms with stickers or tape, do you have any tips for families with young kids who might move boxes to the wrong place by mistake?
Using both colors and pictures can help young kids match boxes to the right rooms. For example, add a picture of a bed for bedrooms or a plate for the kitchen along with the colored sticker. Also, hang matching colored tape or signs on the doors of each room to guide everyone during unloading.
How can I keep track of my inventory for insurance purposes if I’m doing a DIY move without fancy tracking apps?
For a DIY move, use a simple spreadsheet or a notebook to list each box and its contents. Number each box and write the corresponding number and details in your inventory list. Take photos of valuable items, and keep receipts if possible. This approach creates a clear record for insurance purposes without needing special apps.